


Master the Art of Digitizing for Embroidery: Tips Every Beginner Must Know!
Master digitizing for embroidery with this beginner’s guide. Learn tools, steps, tips, and how True Digitizing can help you get started quickly and affordably.

Introduction
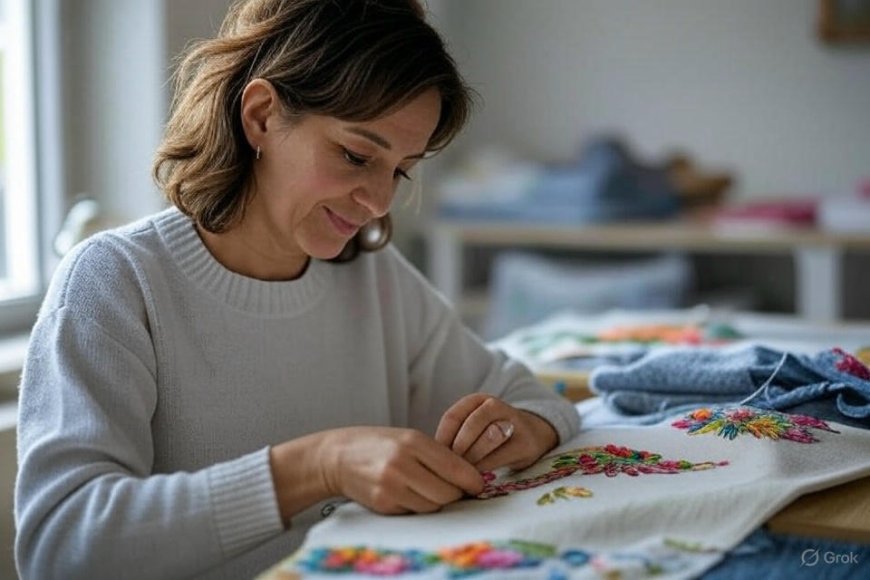
Digitizing for embroidery may sound like a technical taskand it isbut dont worry, its totally doable with the right guidance. Whether youre starting a small embroidery business or just love DIY projects, mastering digitizing will take your creations from average to stunning.
What is Digitizing for Embroidery?
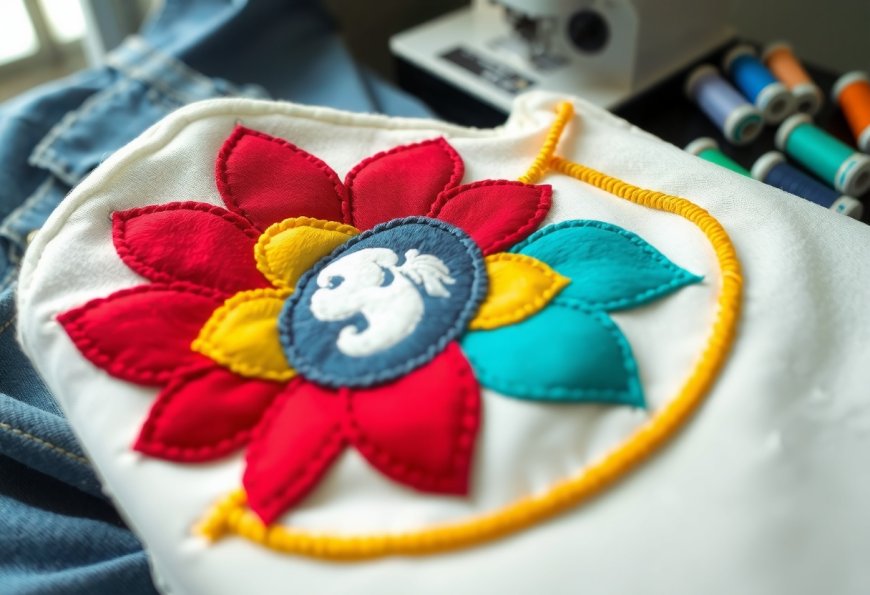
Digitizing for embroidery is the process of converting images or text into a format that embroidery machines can read. Instead of drawing with pencils or ink, you're basically "drawing" with stitches using software.
Why Digitizing is Essential
-
Precision: Clean edges, consistent stitch patterns
-
Customization: Turn any logo, name, or artwork into thread
-
Scalability: Great for personal and commercial use
Tools You Need to Get Started
-
Embroidery digitizing software (Wilcom, Hatch, Brother PE-Design)
-
Computer with decent processing power
-
Embroidery machine compatible with your file formats
Basic Steps to Digitize a Design
Step 1 Choose Your Image Wisely
Simple, high-contrast images work best for beginners.
Step 2 Clean the Image
Use editing software to remove unnecessary details and enhance clarity.
Step 3 Import into Digitizing Software
Time to load it into your software and prepare it for stitching.
Step 4 Assign Stitch Types
Fill stitches, satin stitches, and running stitches each have unique purposes.
Step 5 Sequence and Layering
Decide what stitches go where and in what order.
Step 6 Save in the Right Format
Common formats include .DST, .PES, .EXP, and more.
Common Mistakes Beginners Make
-
Using overly complex images
-
Ignoring stitch density
-
Forgetting to preview or simulate before stitching
Tips for Better Embroidery Digitizing Results
-
Start simple
-
Watch tutorials or enroll in a beginner course
-
Dont hesitate to use services like True Digitizing to learn from professionals
Advanced Techniques to Explore
-
3D puff digitizing
-
Gradient stitching
-
Appliqu digitizing
The Role of Fabric Type in Digitizing
Different fabrics need different stitch settings. For example:
-
Denim = stronger, denser stitches
-
T-shirt fabric = lighter, stretch-sensitive patterns
File Types and What They Mean
Understanding when to use which format:
-
.DST = Common for commercial machines
-
.PES = Brother machines
-
.JEF = Janome users
Outsourcing vs DIY Digitizing
-
Pros of DIY: Full control, lower long-term cost
-
Pros of Outsourcing: Professional quality, time-saving
How to Evaluate a Digitizing Service
-
Look for free previews
-
Read reviews
-
Compare turnaround times
-
Check revision policies
Future of Digitizing for Embroidery
With the rise of AI and automation, digitizing is becoming more precise and accessible. Expect user-friendly software, cloud-based storage, and machine learning enhancements.
Final Thoughts
Digitizing for embroidery is a rewarding skill that elevates your creativity. Whether you go the DIY route or use expert services, understanding the basics sets you up for success. Keep practicing, stay curious, and let your stitches do the talking!
FAQs
1. What is the best software for digitizing embroidery designs?
Wilcom and Hatch are industry favorites, especially for beginners.
2. How long does it take to learn embroidery digitizing?
With consistent practice, basic digitizing can be learned in a few weeks.
3. Can I digitize a photo for embroidery?
Yes, but its best to simplify or stylize it to suit embroidery.
4. Is digitizing necessary for all embroidery projects?
Absolutely, unless you're doing freehand embroidery.
5. Where can I find affordable digitizing services?
Check out True Digitizing for reliable and budget-friendly options.